Showing posts with label closet. Show all posts

Sunday, June 17, 2012

Closet Redo: The Home Stretch

I'm a bad wife -- I put my husband to work on Father's Day. (I made it up to him with the dinner he requested.) Saturday we built the tower. It's made with sanded plywood, MDF and wood veneer tape. I ran into some slight issues when I trimmed the veneer tape. In cutting off the excess, I bit into the wood in a few places -- oops! So I sanded those places smooth, and I'm calling this "technique" unintentional antiquing. Instead of a new-looking piece of furniture, this one has dings on the edges, just like if it was an older piece! Woo! (Lemons to lemonade, people... besides, it's in the closet, not the front hall.) I stained it and let it dry overnight, and this morning we moved it upstairs.
 
I scrubbed the scuffed paint in the back of the closet with a Magic Eraser. He suggested I might want to repaint the walls in there since everything was out, but I wasn't keen on that. The Magic Eraser worked as advertized and the scuffs and smudges are gone, and I didn't have to paint (huzzah!).

Blank slate, before I cleaned the walls.
I removed the strip of baseboard so the tower fits more snugly into the space and flush to the wall. We got it in the closet, put up the cleat to support the shelf, and went to put up the closet rod... and discovered that I miscalculated. The rods I got are too long. *sigh* He had to cut them down so I can still use them, because I'd really rather have metal than wooden rods. Since I already miscalculated once, we got the first rod up, hung stuff on it, measured measured measure, then hung the second rod. Once this closet is finished, I can look at the other one, and see about redesigning it, as well.


Baseboard removed
The edge of plywood isn't pretty, but veneer tape fixes that! Looking just at the edges, there's no difference
between the the plywood and the MDF shelves, because it's all got the veneer on it.
 I am just stupid-excited about this. I am not a girlie-girl. I don't have a massive shoe and purse collection. But for some reason, this project is just firing up both those Xs, and making me want to Squeee! with girlie anticipation. Maybe it will inspire me to embrace style and femininity in a way I haven't before. (But I'm not holding my breath...)

For the organization part, I put my hat boxes to the top shelf, which is high enough for me to need a step stool to reach. Since I don't wear my hats that often, not a big deal. I had a couple of baskets already, just the right size, that I used for socks, which are now mostly in laundry baskets because my sock drawer is full. (I have tons of socks!) I bought clear plastic shoe boxes to keep what shoes I do have dust free.

Both baskets contain socks. The shelf above the basket is purses
and hair things. The very top shelf is mainly hats.
Shoes!
Years ago, I made the handiest thing ever for organizing my barrettes, but it's too long and the material has yellowed, so I made new ones.

Just a strip of corduroy with a large split ring at the top --
the texture of the material grips the barrettes and holds them in place!


I used robe hooks to hang the new barrette strips. They fit neatly there in an otherwise unusable space; that wall they're on is only about 8 inches wide.

There's one more space in this closet that I'm customizing...


I'm going to add shelves to that awkward space below the barrettes and the jewelry board. Those shelves will hold my Orphanware™ pieces, and organize more jewelry. The space will be stylishly designed to both hold and display the pieces, making them an attractive feature that's more than just utilitarian.

So there it is! My nearly-completed closet redo! I'm so pleased with how it turned out, and plan to put even more thought into the other closet, and measure more meticulously. This was an excellent learning exercise.


UPDATE: Here's the rest of what I did with the closet.


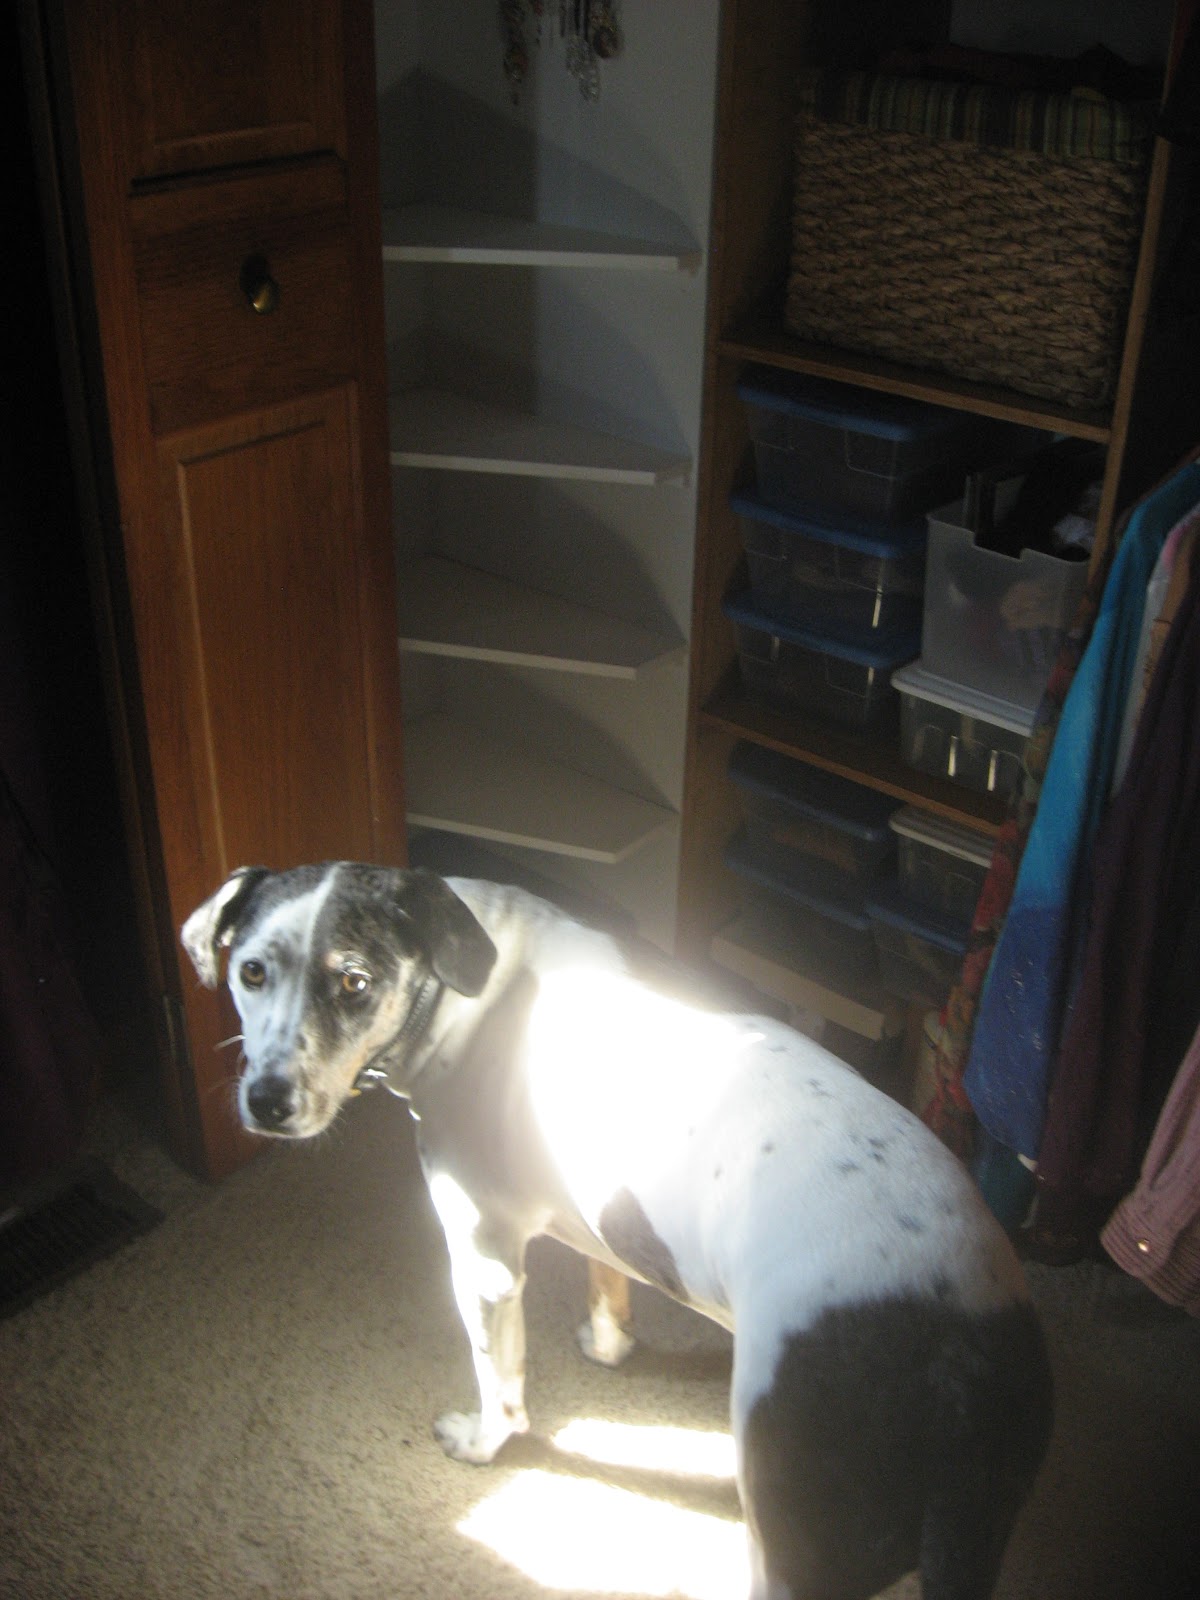
The shelves are supported by (and glued to) small cleats nailed to the drywall. Each shelf is a little narrower at the pointed end, so that the shelves sort of "fan out" as they go down the wall. I did this because I wanted the bottom shelves to be a little more visible and not be completely obscured by the shelves above. They're white so the focus is on the Orphanware™ and jewelry, not the shelves. It's a dark corner, having shelves anything but white would have been really dark and distracting. Penelope was my able assistant while I worked on this. I am insanely pleased with how it all turned out.

Tuesday, March 6, 2012

Closet Woes

I have a weirdly-shaped closet. It has a bulkhead containing ductwork that juts into what would be a typical 57 x 24" reach-in closet, eliminating more than 12 cubic feet of usable space. Bummer. Worse, it leaves such a narrow space that it seems suitable only for stacking shoeboxes up the bulkhead wall... except I don't have all the boxes for the shoes I do have, and not enough shoes to really utilize the space. SO! what to do?
See? What the heck is that stupid space good for?!
I got to thinking; what if I used the 4.75" return wall and made angled shelves that fit into that weird corner? I want to use the space to potentially eliminate a few small jewelry boxes and make it easier to find what I want, without digging in all of them. I already found a memo board that had hooks on it for keys, and thought I could add more hooks to hang necklaces from at the bottom, and pushpins to hold more.

Repainted memo board. It was missing one hook, so I'll replace them all and maybe add more (at the bottom). Above (the green) is a small shelf. The pink is corkboard.
I already figured what my maximum comfortable reach is, so I know where on the wall the memo board needs to hang so it's usable, and with hooks on the bottom, I know I need to leave plenty of clearance below for necklaces.

This is my not-quite-perfectly scaled "blueprint" for the space. (The side of the bulkhead wall is way off scale, but the rest is pretty good.)
Basically, I'll start 8 inches off the floor and put in an angled shelf, using quarter rounds on the wall for cleats. The cleats will be along three walls, and I'll nail the shelves in place, so they should be plenty secure for no more weight that will be on them. I'll make the second shelf 8 inches above that one, but one inch shorter on the bulkhead side, and the one above that another inch shorter, etc., so that they are stepped slightly and not completely concealing the lower shelves. Why? Because of how I plan to use the space in a decoratively AND functionally.

So imagine the white paper is my shelf, the lowest one. The pretty mismatched china and glass bowls (glued together for stability) will hold earrings, bracelets, rings, what-have-yous, in a pretty and functional way.
I've been staring at my plans, sketching and re-sketching, looking at the space, measuring... and I think this will be a good solution. It should let me put pieces I love on display so I can use them easily, plus make a pretty display in the closet in otherwise unusable space.